How to Record Internal Audio on Mac
macOS cannot record internal (system) audio on its own, so the built-in screen recorder captures your microphone but not app or browser sound. The fix is a free virtual audio driver called BlackHole: install it, route your system audio through it, then record with QuickTime or the Shift+Cmd+5 screen recorder and choose BlackHole as the audio source. Full setup is below.
This video was made with Velo. No editing, no retakes.
Try it freeWhy a Mac cannot do it out of the box
The Screenshot toolbar (Shift+Cmd+5) and QuickTime only let you pick a microphone, not the system output. So you hear the audio, but the recording does not capture it. You need to give macOS a virtual input that carries the system sound.
How to record internal audio with BlackHole (free)
- Install BlackHole. Get it free from existential.audio, or run
brew install blackhole-2chif you use Homebrew. - Open Audio MIDI Setup, in Applications, then Utilities.
- Create a Multi-Output Device: click the plus, then check both your speakers and BlackHole 2ch, so you can still hear the audio while it routes to BlackHole.
- Set that Multi-Output Device as your Mac’s sound output in System Settings, then Sound.
- Record. In QuickTime, choose File, then New Screen Recording, or press Shift+Cmd+5, click the Options arrow, and pick BlackHole 2ch as the microphone. Start recording, and the system audio is captured.
- To record system audio and your voice together, create an Aggregate Device that combines BlackHole and your real mic, and select that instead.
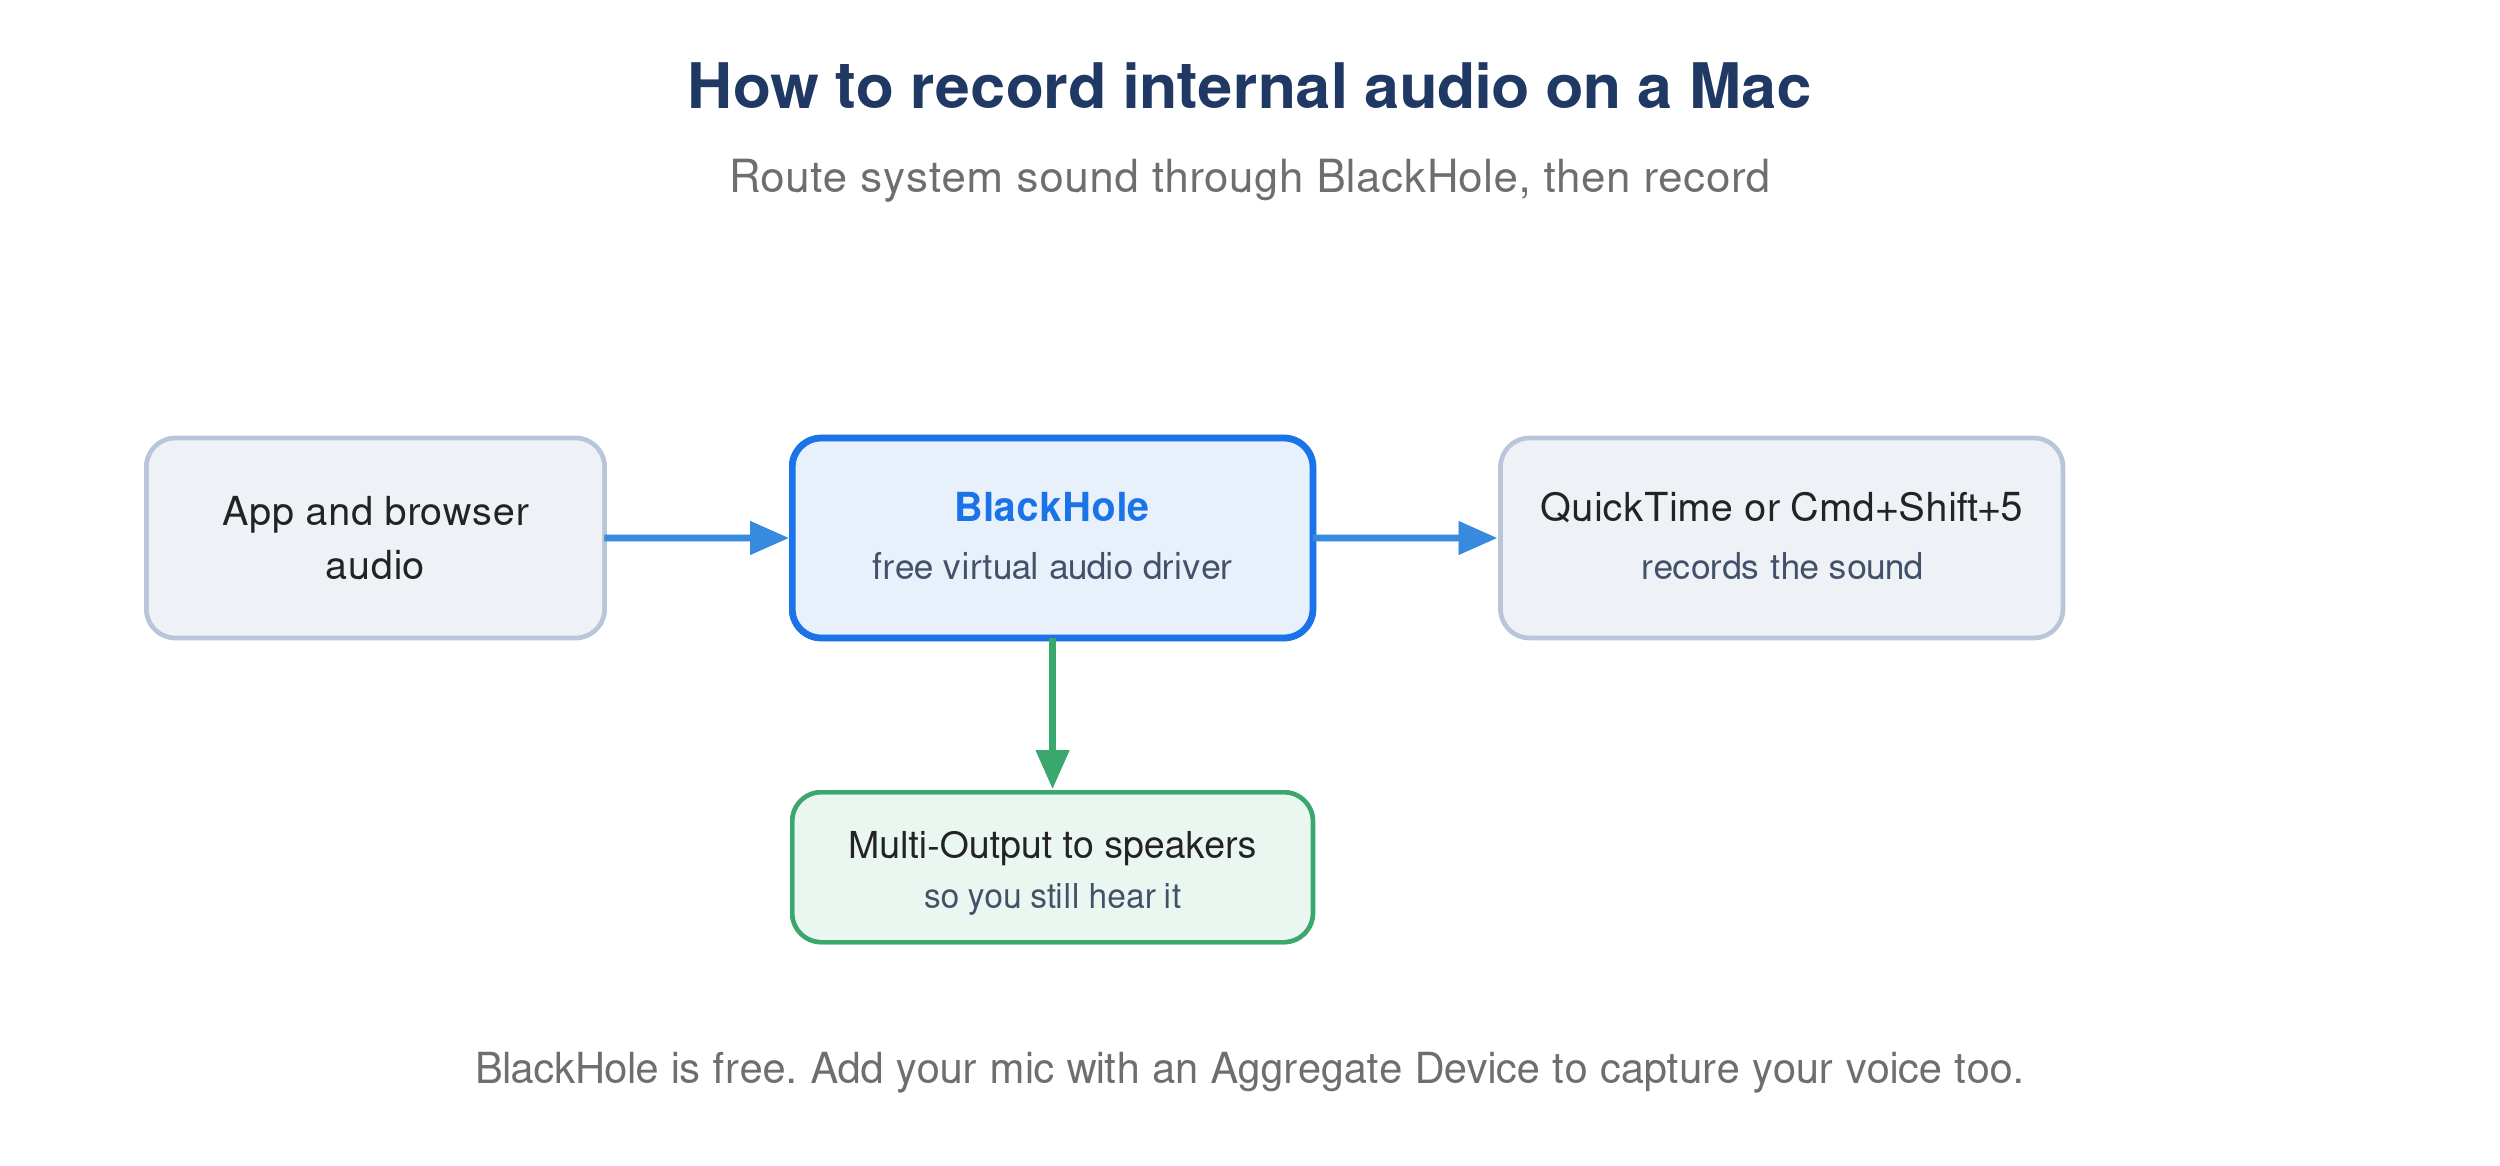
System audio routed through BlackHole into the screen recorder, with a branch to the speakers.
Where recordings save
QuickTime and the Shift+Cmd+5 recorder save to your Desktop by default, or wherever you last chose. To trim or tighten a long screen recording afterward, see how to speed up a video.
The faster way if you record often
Setting up BlackHole is worth it for a one-off. If you record app walkthroughs regularly, Velo skips the audio plumbing:
- Record your screen with the Velo Chrome extension, or upload a clip, and Velo rebuilds it into a polished, narrated video.
- Velo narrates in your own cloned voice, so you do not need to capture system audio or do a live voiceover at all.
- Fix a mistake by editing the script, not by re-recording, and turn the same recording into a written doc in one click.