How to Screen Record on a Laptop
How you screen record on a laptop depends on its operating system. On a Windows laptop, press Win+G for the Xbox Game Bar. On a MacBook, press Shift+Cmd+5. On a Chromebook, press Shift+Ctrl+Overview and switch to the video camera icon. Each has a built-in recorder, so no download is needed. Full steps for all three are below.
This video was made with Velo. No editing, no retakes.
Try it free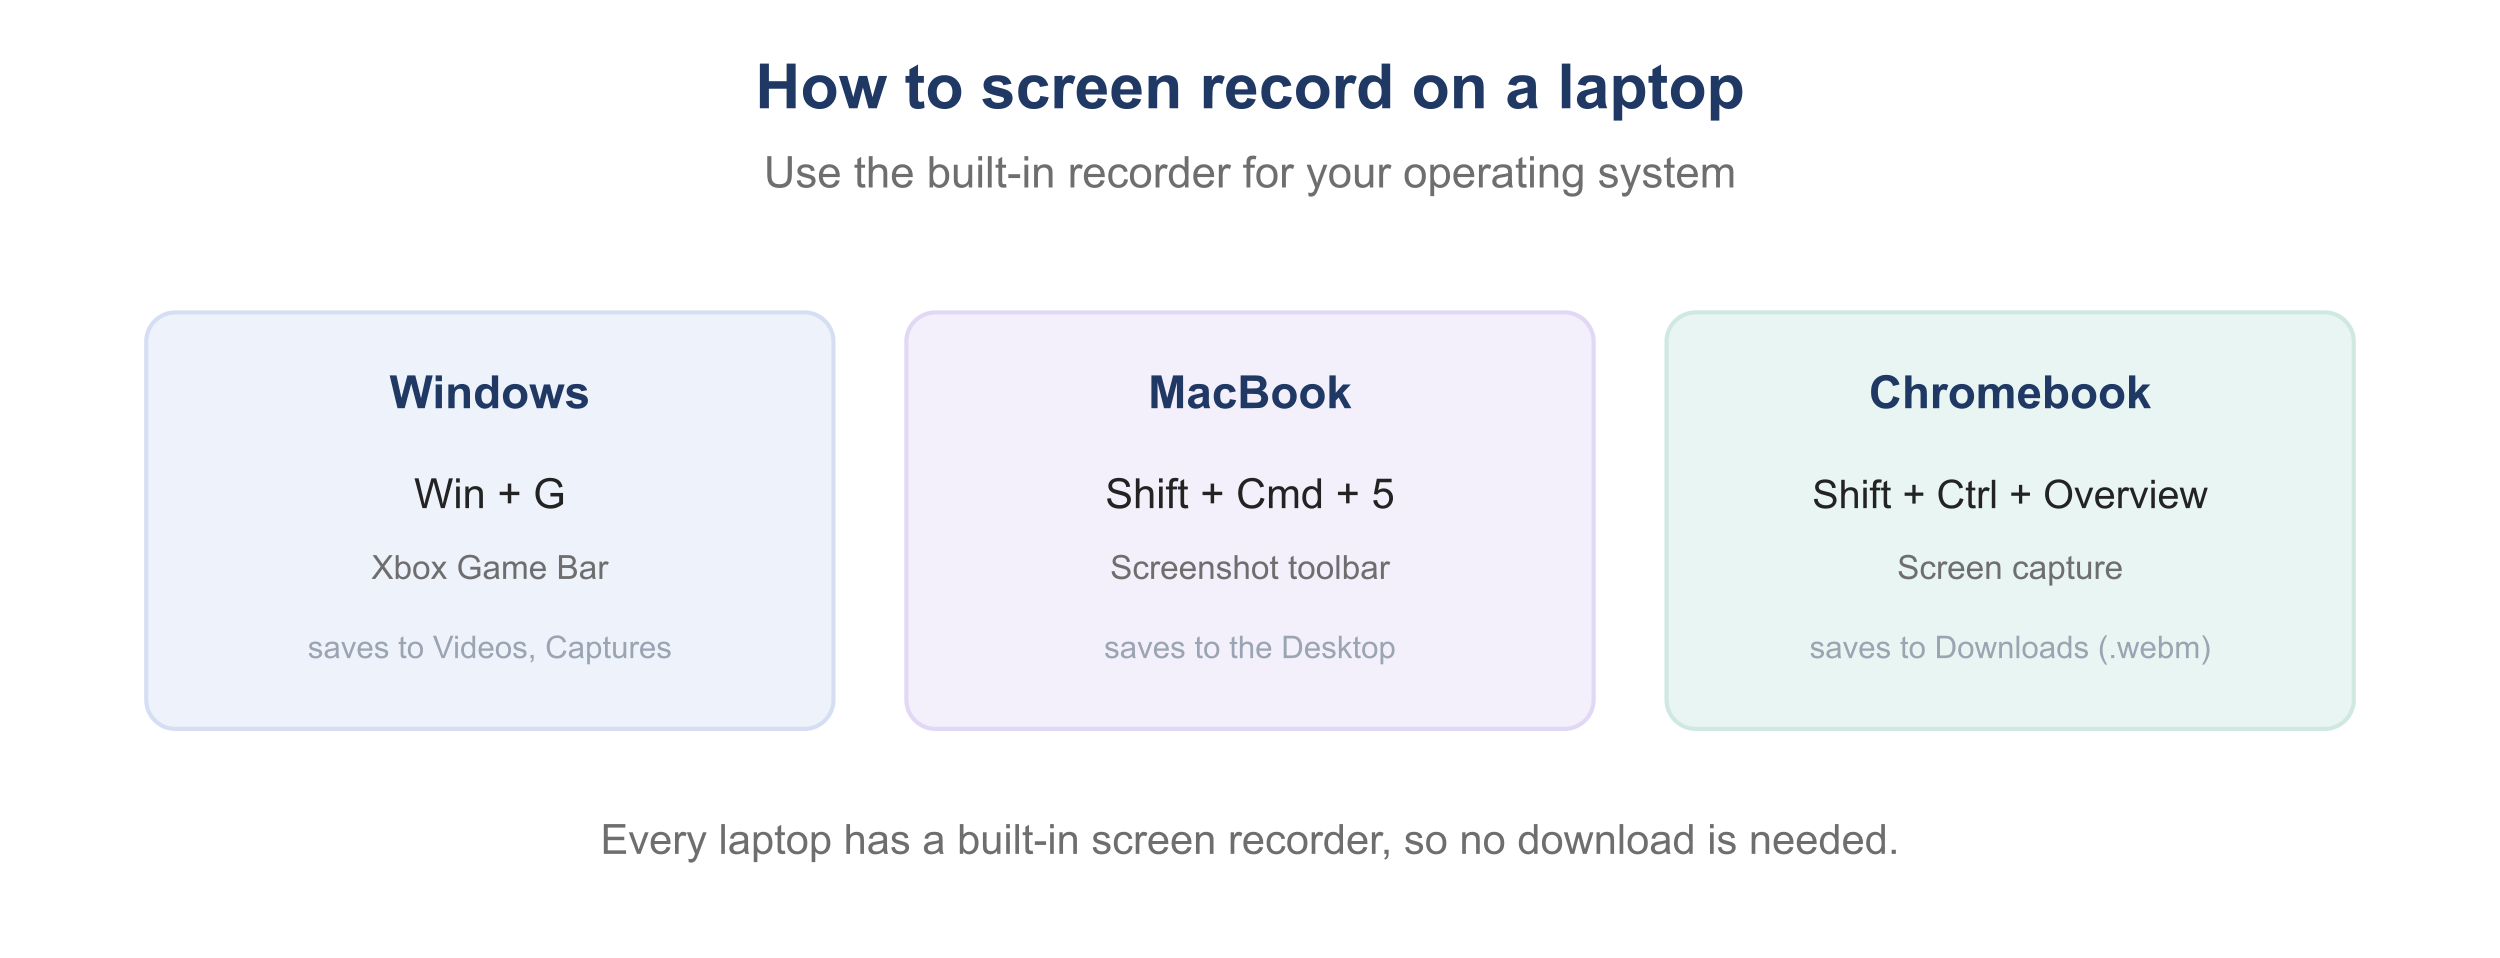
Built-in screen recorders on Windows, Mac, and Chromebook laptops.
How to screen record on a Windows laptop
- Press Win+G to open the Xbox Game Bar.
- In the Capture panel, click Record, or press Win+Alt+R.
- Turn on the microphone to add your voice.
- Click Stop when done. The clip saves to Videos, then Captures.
The Game Bar records an app window. For the full desktop, use the Windows 11 Snipping Tool recorder.
How to screen record on a MacBook
- Press Shift+Cmd+5 to open the screen recording toolbar.
- Choose Record Entire Screen or Record Selected Portion.
- Click Options to pick your microphone and save location.
- Click Record, then stop from the menu bar. See more in how to screen record on a Mac.
How to screen record on a Chromebook
- Press Shift+Ctrl+Overview (the window-switch key above 6), or open Quick Settings and choose Screen capture.
- Select the video camera icon to switch to recording.
- Choose full screen, a region, or a window, then start. Full steps are in how to screen record on a Chromebook.
How to screen record on a laptop with sound
On every laptop, turn on the microphone before you record to capture your voice. System or app audio is captured on a Chromebook by enabling Device audio, on a Mac with a virtual audio driver, and on Windows through the Game Bar audio settings.
Where do laptop screen recordings save?
Windows saves to Videos, then Captures; a Mac saves to the Desktop; a Chromebook saves to Downloads as a .webm file. To trim a long recording, see how to speed up a video.
How to turn a laptop recording into a video worth sharing
A raw laptop recording is fine for the archive, but long and rough to send. Velo rebuilds it into a polished video that is trimmed, with auto-zoom on what matters, and one click turns it into a written doc for your notes or help center.