How to Screen Record on a Mac
To screen record on a Mac, press Shift+Cmd+5 to open the screen recording toolbar, choose Record Entire Screen or Record Selected Portion, click Options to pick your microphone and save location, then click Record. Stop from the menu bar. Recordings save to the Desktop by default. Full steps, how to capture sound, and where files go are below.
This video was made with Velo. No editing, no retakes.
Try it free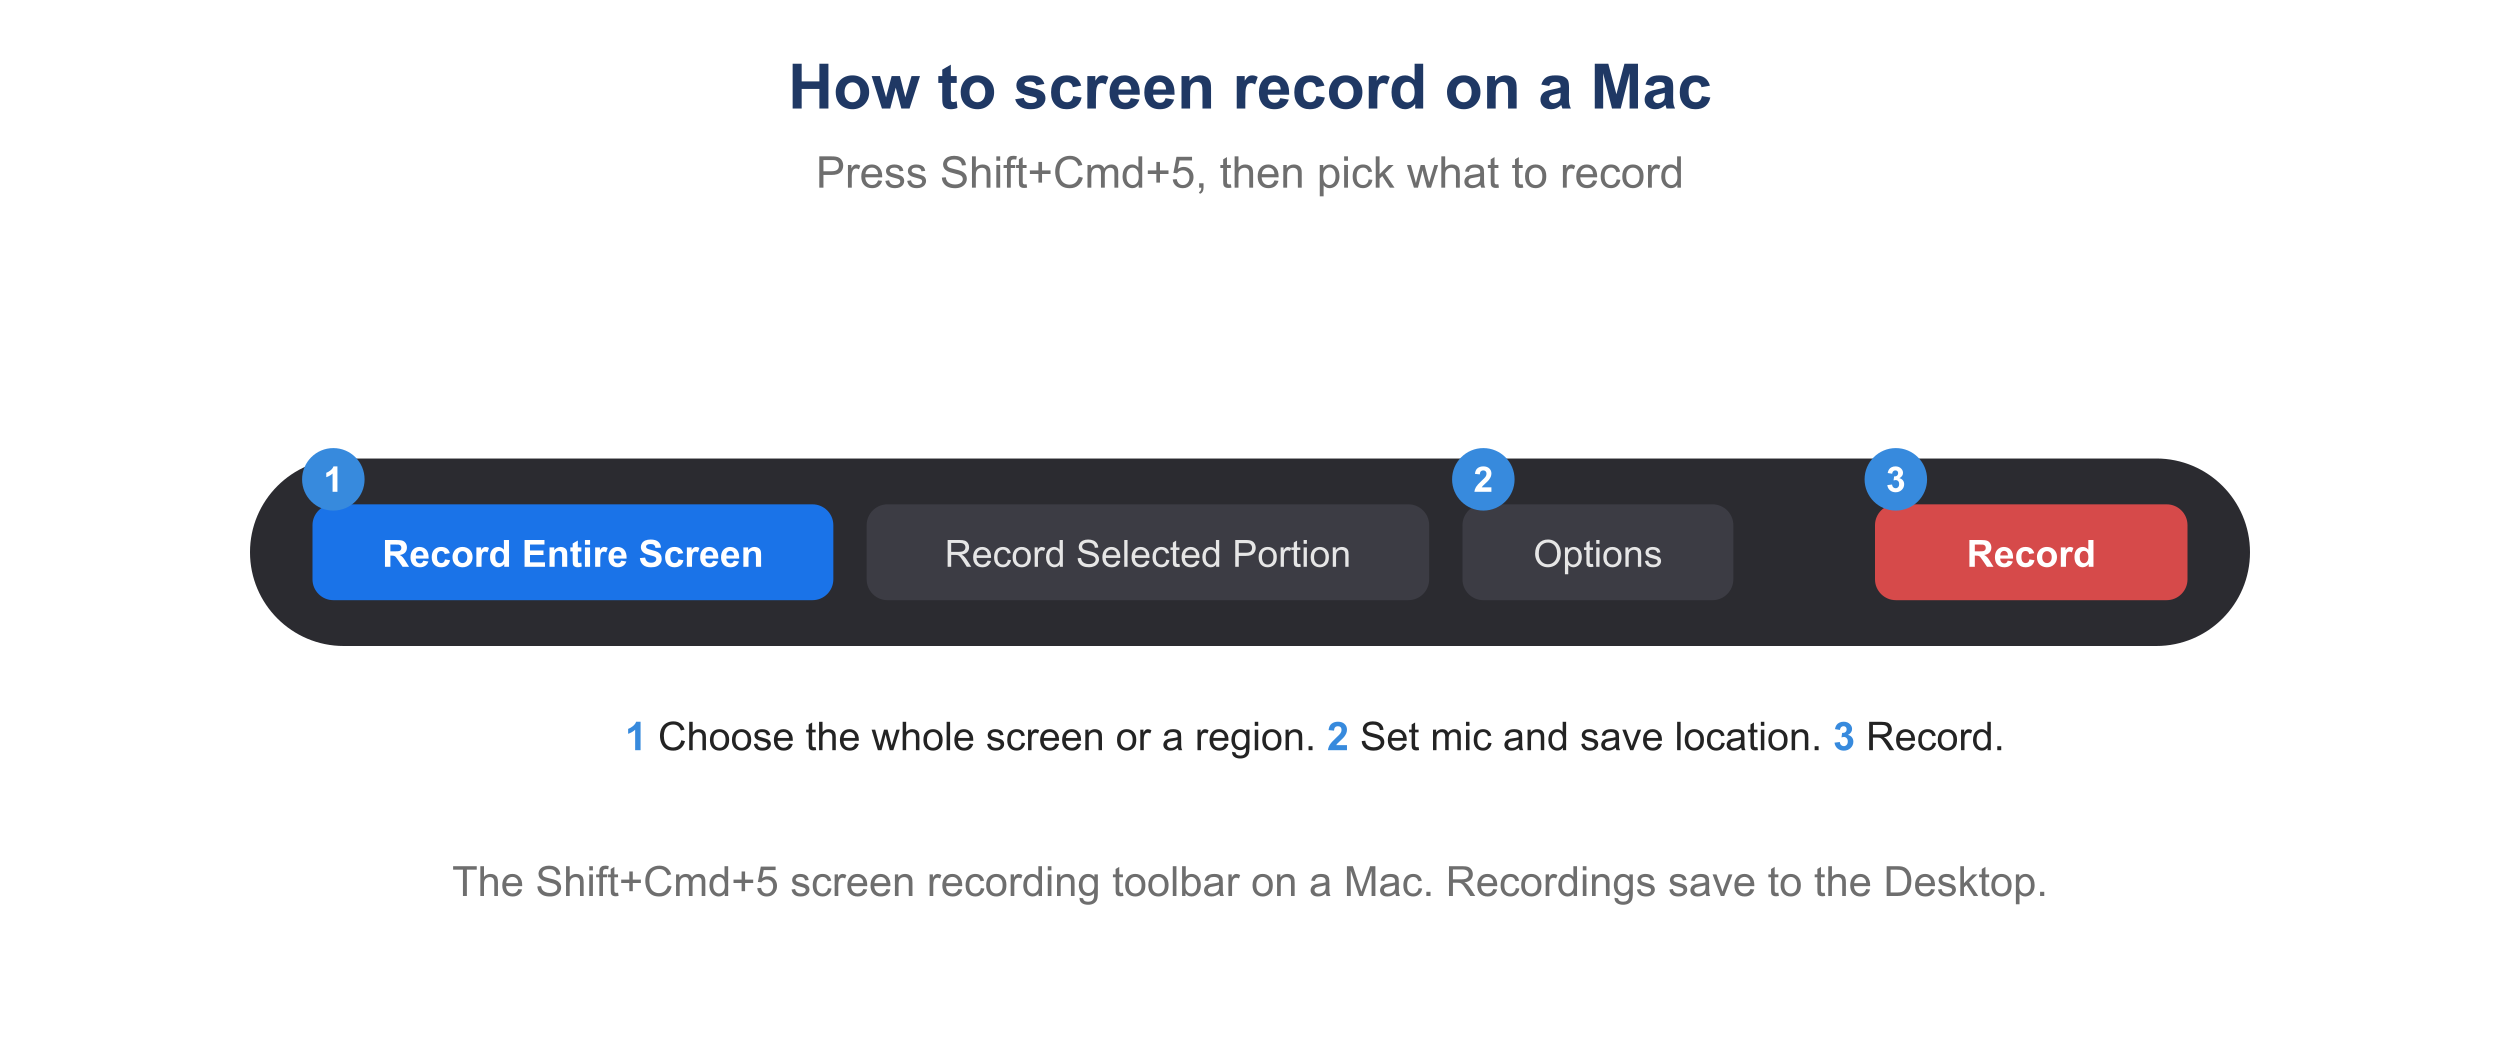
The Shift+Cmd+5 screen recording toolbar on a Mac.
How to screen record on a Mac with Shift+Cmd+5
- Press Shift+Cmd+5 to open the Screenshot toolbar.
- Choose Record Entire Screen or Record Selected Portion.
- Click Options to set the microphone, save location, and a countdown timer.
- Click Record. For a selected portion, drag to set the area first.
- To stop, click the Stop icon in the menu bar, or press Cmd+Ctrl+Esc.
How to screen record on a Mac with QuickTime
- Open QuickTime Player, then choose File, then New Screen Recording.
- Click the arrow next to the record button to pick a microphone.
- Click Record, select the full screen or a region, and start.
- Stop from the menu bar, then choose File, then Save.
How to record your screen on a Mac with sound
Your microphone is captured when you select it under Options. macOS does not record internal system audio on its own, so to capture app or browser sound, install a free virtual audio driver. See how to record internal audio on Mac.
Where do Mac screen recordings save?
By default they save to the Desktop as a .mov file. Change the location under Options in the Shift+Cmd+5 toolbar before you record. To trim or tighten a long recording, see how to speed up a video.
Why can’t I screen record on my Mac?
- There is no sound in the file. Pick a microphone under Options, and use a virtual audio driver for system audio.
- The shortcut does nothing. On older macOS versions, use QuickTime instead of Shift+Cmd+5.
- The screen is black. Some apps block capture, and screen-recording permission may be off in System Settings, then Privacy and Security, then Screen Recording.
How to turn a Mac recording into a video worth sharing
A raw screen recording is long and rough. When you want to actually send it, as a demo, a walkthrough, or a training video, this is where Velo comes in. Upload the recording and Velo rebuilds it into a polished video that is trimmed, with auto-zoom on what matters. Fix a mistake by editing the script, not by re-recording, and one click turns the same recording into a written doc for your help center.