How to Record a Google Slides Presentation
Google Slides has a built-in recording feature. Open your presentation, click Rec in the top right, then Record new video, and present while it captures your webcam and voice. When you stop, the recording saves to a Slides recordings folder in Google Drive with a shareable link. The Rec button needs an eligible Google Workspace plan. If you do not see it, use a screen recorder or turn the deck into a narrated video instead. All three methods are below.
This video was made with Velo. No editing, no retakes.
Try it freeMethod 1: the built-in Rec button
- Open your presentation in Google Slides on desktop Chrome.
- Click Rec in the top right, then Record new video.
- Click the red record button, present your slides, and speak your narration.
- Click stop when done. The video saves to Drive under Slides recordings.
- Open the recording to share the link or download it.
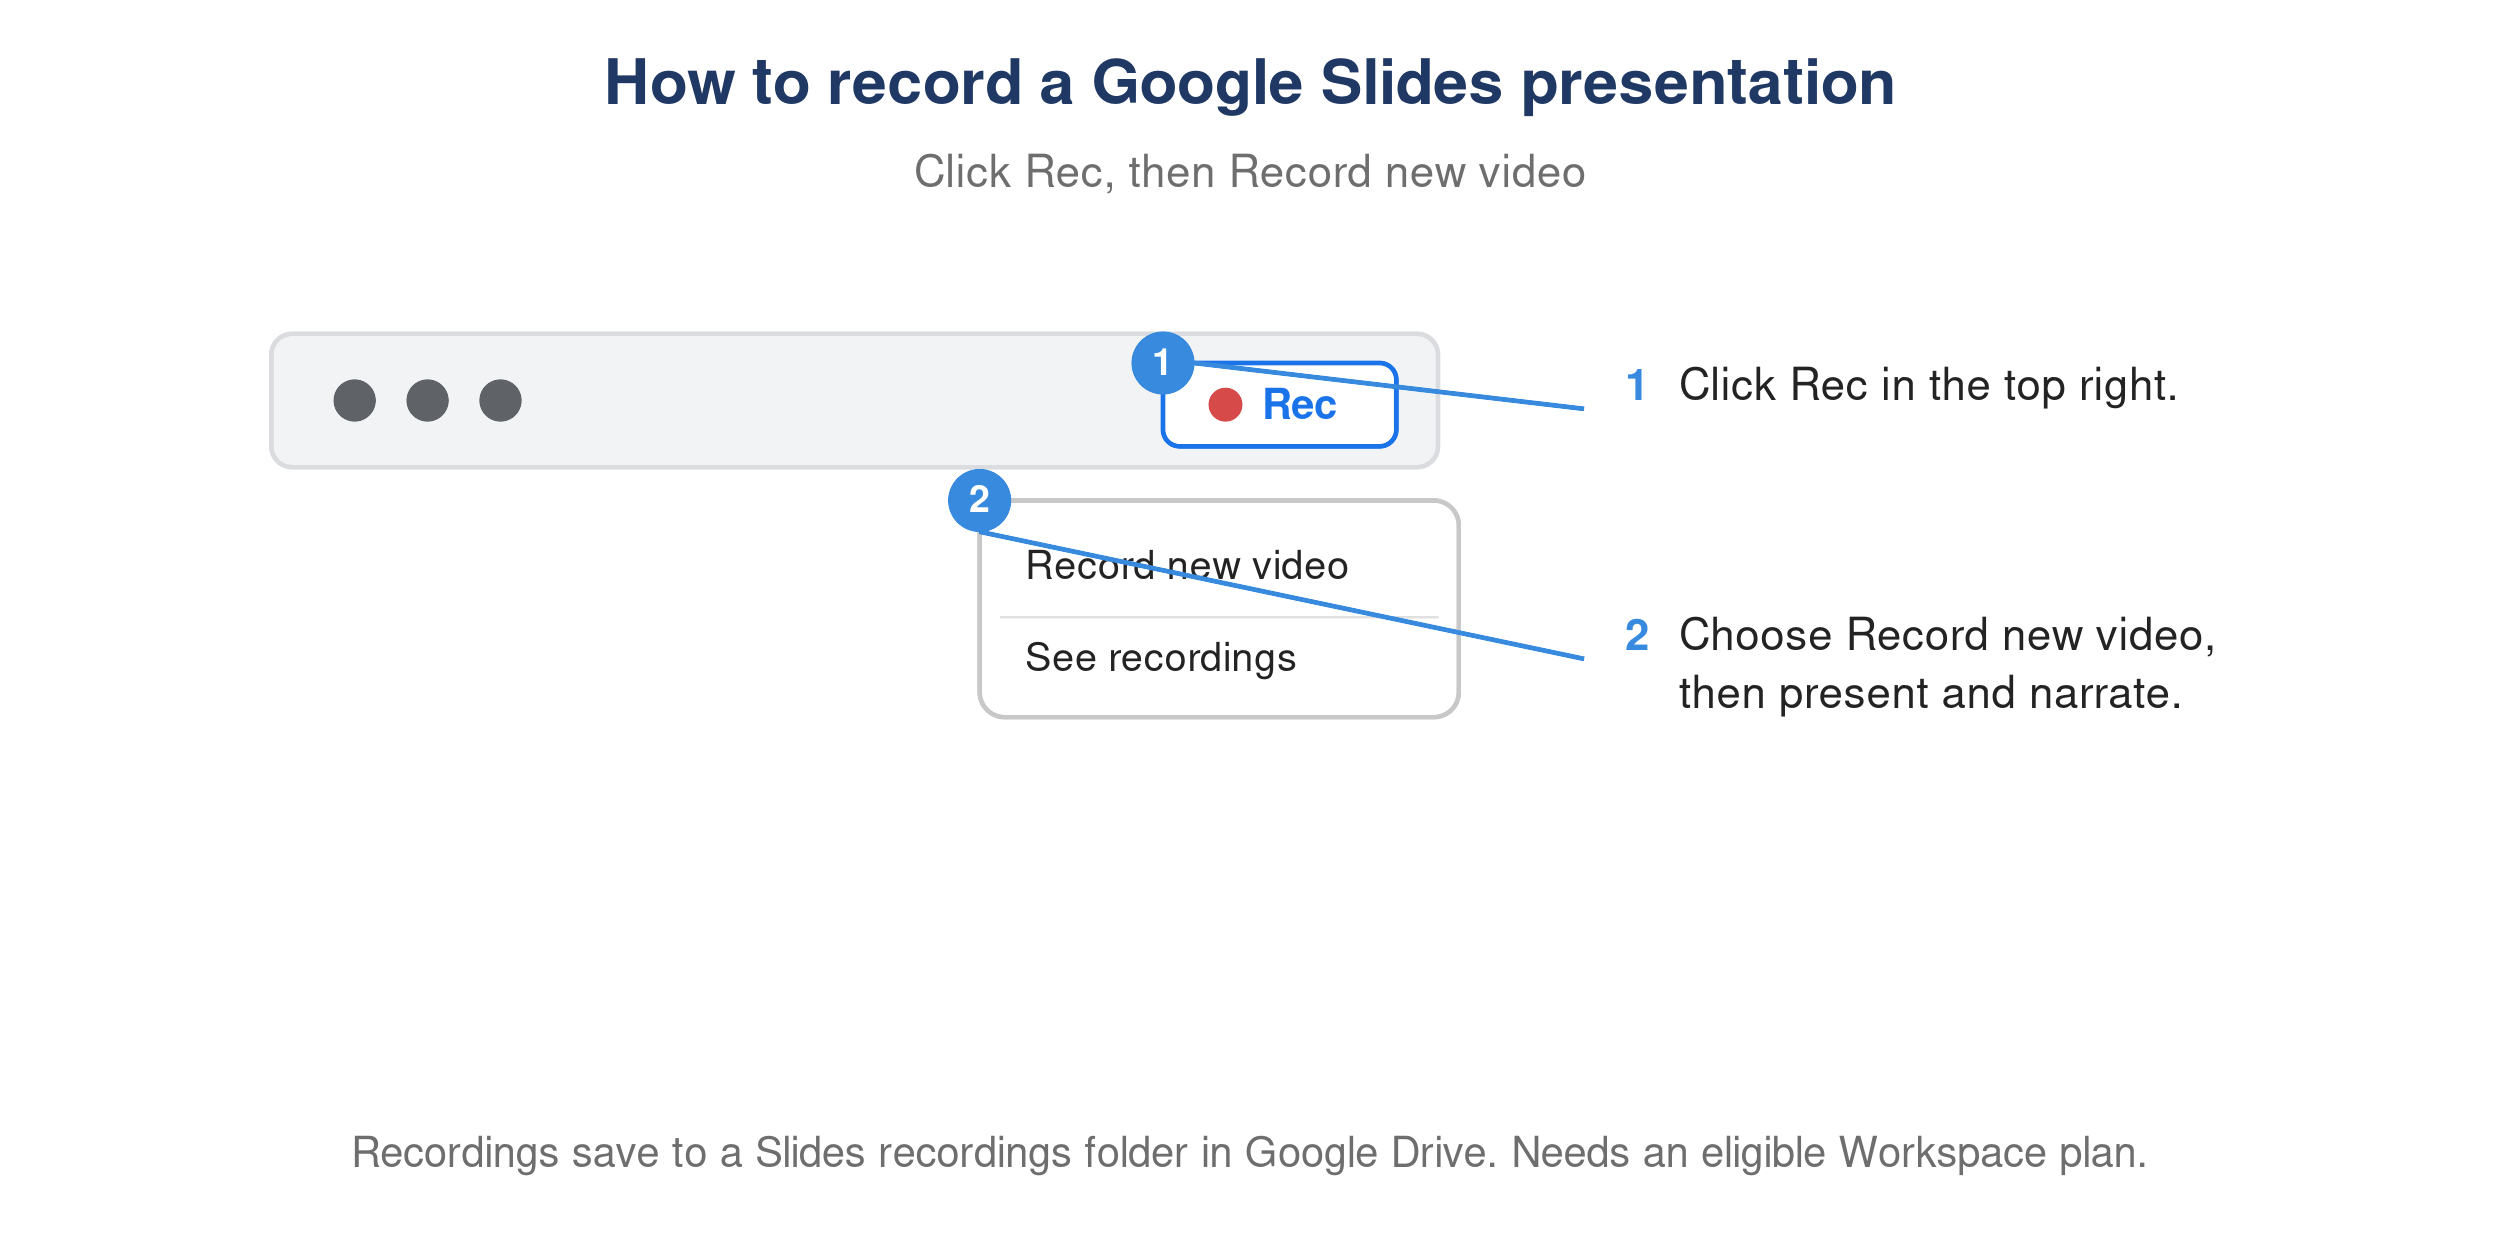
The Google Slides Rec button with the Record new video option open.
Recording is available on eligible Google Workspace editions, including many Business, Enterprise, and Education plans. Personal Gmail accounts usually do not have it, and each recording has a maximum length, so split long sessions or use a screen recorder.
Method 2: screen record the presentation
If you do not see the Rec button, record the screen instead:
- On a Chromebook, use the built-in screen recorder.
- On a Mac, press Shift+Cmd+5, and to capture your narration cleanly, see how to record internal audio on Mac.
- Present in full screen and record from start to finish.
Where recordings go: Drive, then Slides recordings, or your local folder if you used a screen recorder.
Method 3: turn the deck into a narrated video
Recording yourself present works, but it takes a clean take and good audio, and one stumble means starting over. Velo builds the video from the deck itself:
- Upload your slides or PDF to Velo, or paste a link.
- Tell Velo what to say, or let it draft the script scene by scene.
- Velo narrates each slide in your own voice with VeloTwin, no camera and no retakes.
- Change a line? Edit the script and regenerate, rather than re-recording the whole deck.
One click also turns it into a written doc for handouts or a help center, and you can polish a raw screen recording the same way.